이전 포스팅에서 Spring Actuator, Prometheus, Grafana에 대해서 설명드렸습니다.
Spring Boot + Kotlin의 모니터링 도구, Spring Actuator, Prometheus, Grafana (1/2)
Spring Boot에서 Web Application이 정상적으로 동작하고 있는지 확인하기 위해 모니터링을 해야 하는 경우가 있습니다. 이번 포스팅에서는 Sprintg Boot에 설치할 모니터링 관련 라이브러리와 Open Source 기
hacksms.tistory.com
이번 포스팅에서는 실제로 모니터링 시스템을 구축해보겠습니다.
Monitoring System 구축
1. 먼저 https://start.spring.io/ 에서 Spring Boot Project를 아래와 같이 생성합니다.
Project : Gradle Project
Language : Kotlin
Spring Boot : 2.7.3
Java : 18
Dependencies : Spring Web, Thymeleaf, Spring Boot DevTools, Prometheus

2. 이후 build.gradle.kts의 Dependencies가 아래와 같이 설정된 것을 확인할 수 있습니다.
dependencies {
	implementation("org.springframework.boot:spring-boot-starter-thymeleaf")
	implementation("org.springframework.boot:spring-boot-starter-web")
	implementation("com.fasterxml.jackson.module:jackson-module-kotlin")
	implementation("org.jetbrains.kotlin:kotlin-reflect")
	implementation("org.jetbrains.kotlin:kotlin-stdlib-jdk8")
	developmentOnly("org.springframework.boot:spring-boot-devtools")
	runtimeOnly("io.micrometer:micrometer-registry-prometheus")
	testImplementation("org.springframework.boot:spring-boot-starter-test")
}
3. 그리고 패키지 내 파일을 아래와 같이 생성 및 입력해줍니다.
mainController.kt
@RestController
class MainController{
    @GetMapping("/index")
    fun index(model:Model): String{
        return "index"
    }

    @GetMapping("/index2")
    fun index2(model:Model): String{
        return "index2"
    }
}
application.xml
spring:
  application:
    name: monitoring

management:
  endpoint:
    metrics:
      enabled: true
    prometheus:
      enabled: true

  endpoints:
    web:
      exposure:
        include: health, info, metrics, prometheus

  metrics:
    tags:
application: ${spring.application.name}- management.endpoint.{id}.enabled: true
- {id}에 해당하는 endpoint들을 활성화 합니다.
- WEB과 관련된 endpoint들은 Default로 info, health를 제외하고는 모두 disabled 처리 되어있습니다.
- Boot 2.0 이상에서는 endpoints.{id}가 아닌 endpoint.{id}로 설정해야 합니다.
- management.endpoints.web.exposure.include: {id}, {id}, {id}
- {id}에 해당하는 endpoint들을 활성화 합니다.
- management.endpoints.web.exposure.exclude를 사용해서 제외시킬 수 도 있습니다.
- metrics.tags.application: {application name}
- metrics application 정보를 설정합니다. (위 코드의 경우 "monitoring" 임)
4. 그 다음으로 Prometheus를 이용하여 Metrics 수집 Rule 파일인 Prometheus.yml를 생성합니다.
global:
  scrape_interval: 10s # 10초마다 매트릭을 수집 default 1분
  evaluation_interval: 1m # 1분마다 규칙을 평가 default 1분

  external_labels: # 외부 시스템에 표시할 이 서버의 레이블
    monitor: 'devbeekei-monitor'

rule_files: # 규칙을 로딩하고 evaluation_interval 설정에 따라 정기적으로 평가한다.
# - "first.rules"
# - "second.rules"

scrape_configs:
  - job_name: 'monitoring-app' # 잡 이름
    metrics_path: '/actuator/prometheus' # 메트릭을 수집할 path 설정
    static_configs:
      - targets: ['192.168.45.245:8080'] # Host IP:8080
5. 이제 Docker를 이용하여 Prometheus를 설치해줍니다.
※ 아래의 명령어는 Docker 내 Prometheus의 접속 Port인 9090을 Host의 8081 Port로 연결하는 명령어입니다.
$ docker run -d -p 8081:9090 -v ./prometheus.yml --name prometheus prom/prometheus
6. 이제 브라우저를 이용하여 localhost:8081에 접속하여 "Status > Target" 메뉴를 클릭할 경우 아래와 같이 정상적으로 모니터링이 되고 있는 것을 확인할 수 있습니다.

7. 또한, Graph 메뉴에서 Metrics가 정상적으로 잘 수집되고 있는 것을 확인할 수도 있습니다.
검색어 : http_server_requests_seconds_max

8. 참고로 Prometheus가 열려 있는 Spring Boot Server의 경우"http://target/actuator/prometheus"에 접근하는 것으로 모니터링 되는 내용들을 확인할 수 있습니다.
※ 만약 실제 운영 중인 서버에 Prometheus가 열려 있고 외부에서 접근이 가능하다면? 이는 충분히 취약한 포인트가 될 수 있을 것 같습니다.

9. 이번에는 시각화를 위한 Grafana를 Docker를 이용하여 설치해보겠습니다.
※ 아래의 명령어는 Docker 내 Grafana의 접속 Port인 3000을 Host의 8082 Port로 연결하는 명령어입니다.
$ docker run -d -p 8082:3000 --name grafana grafana/grafana
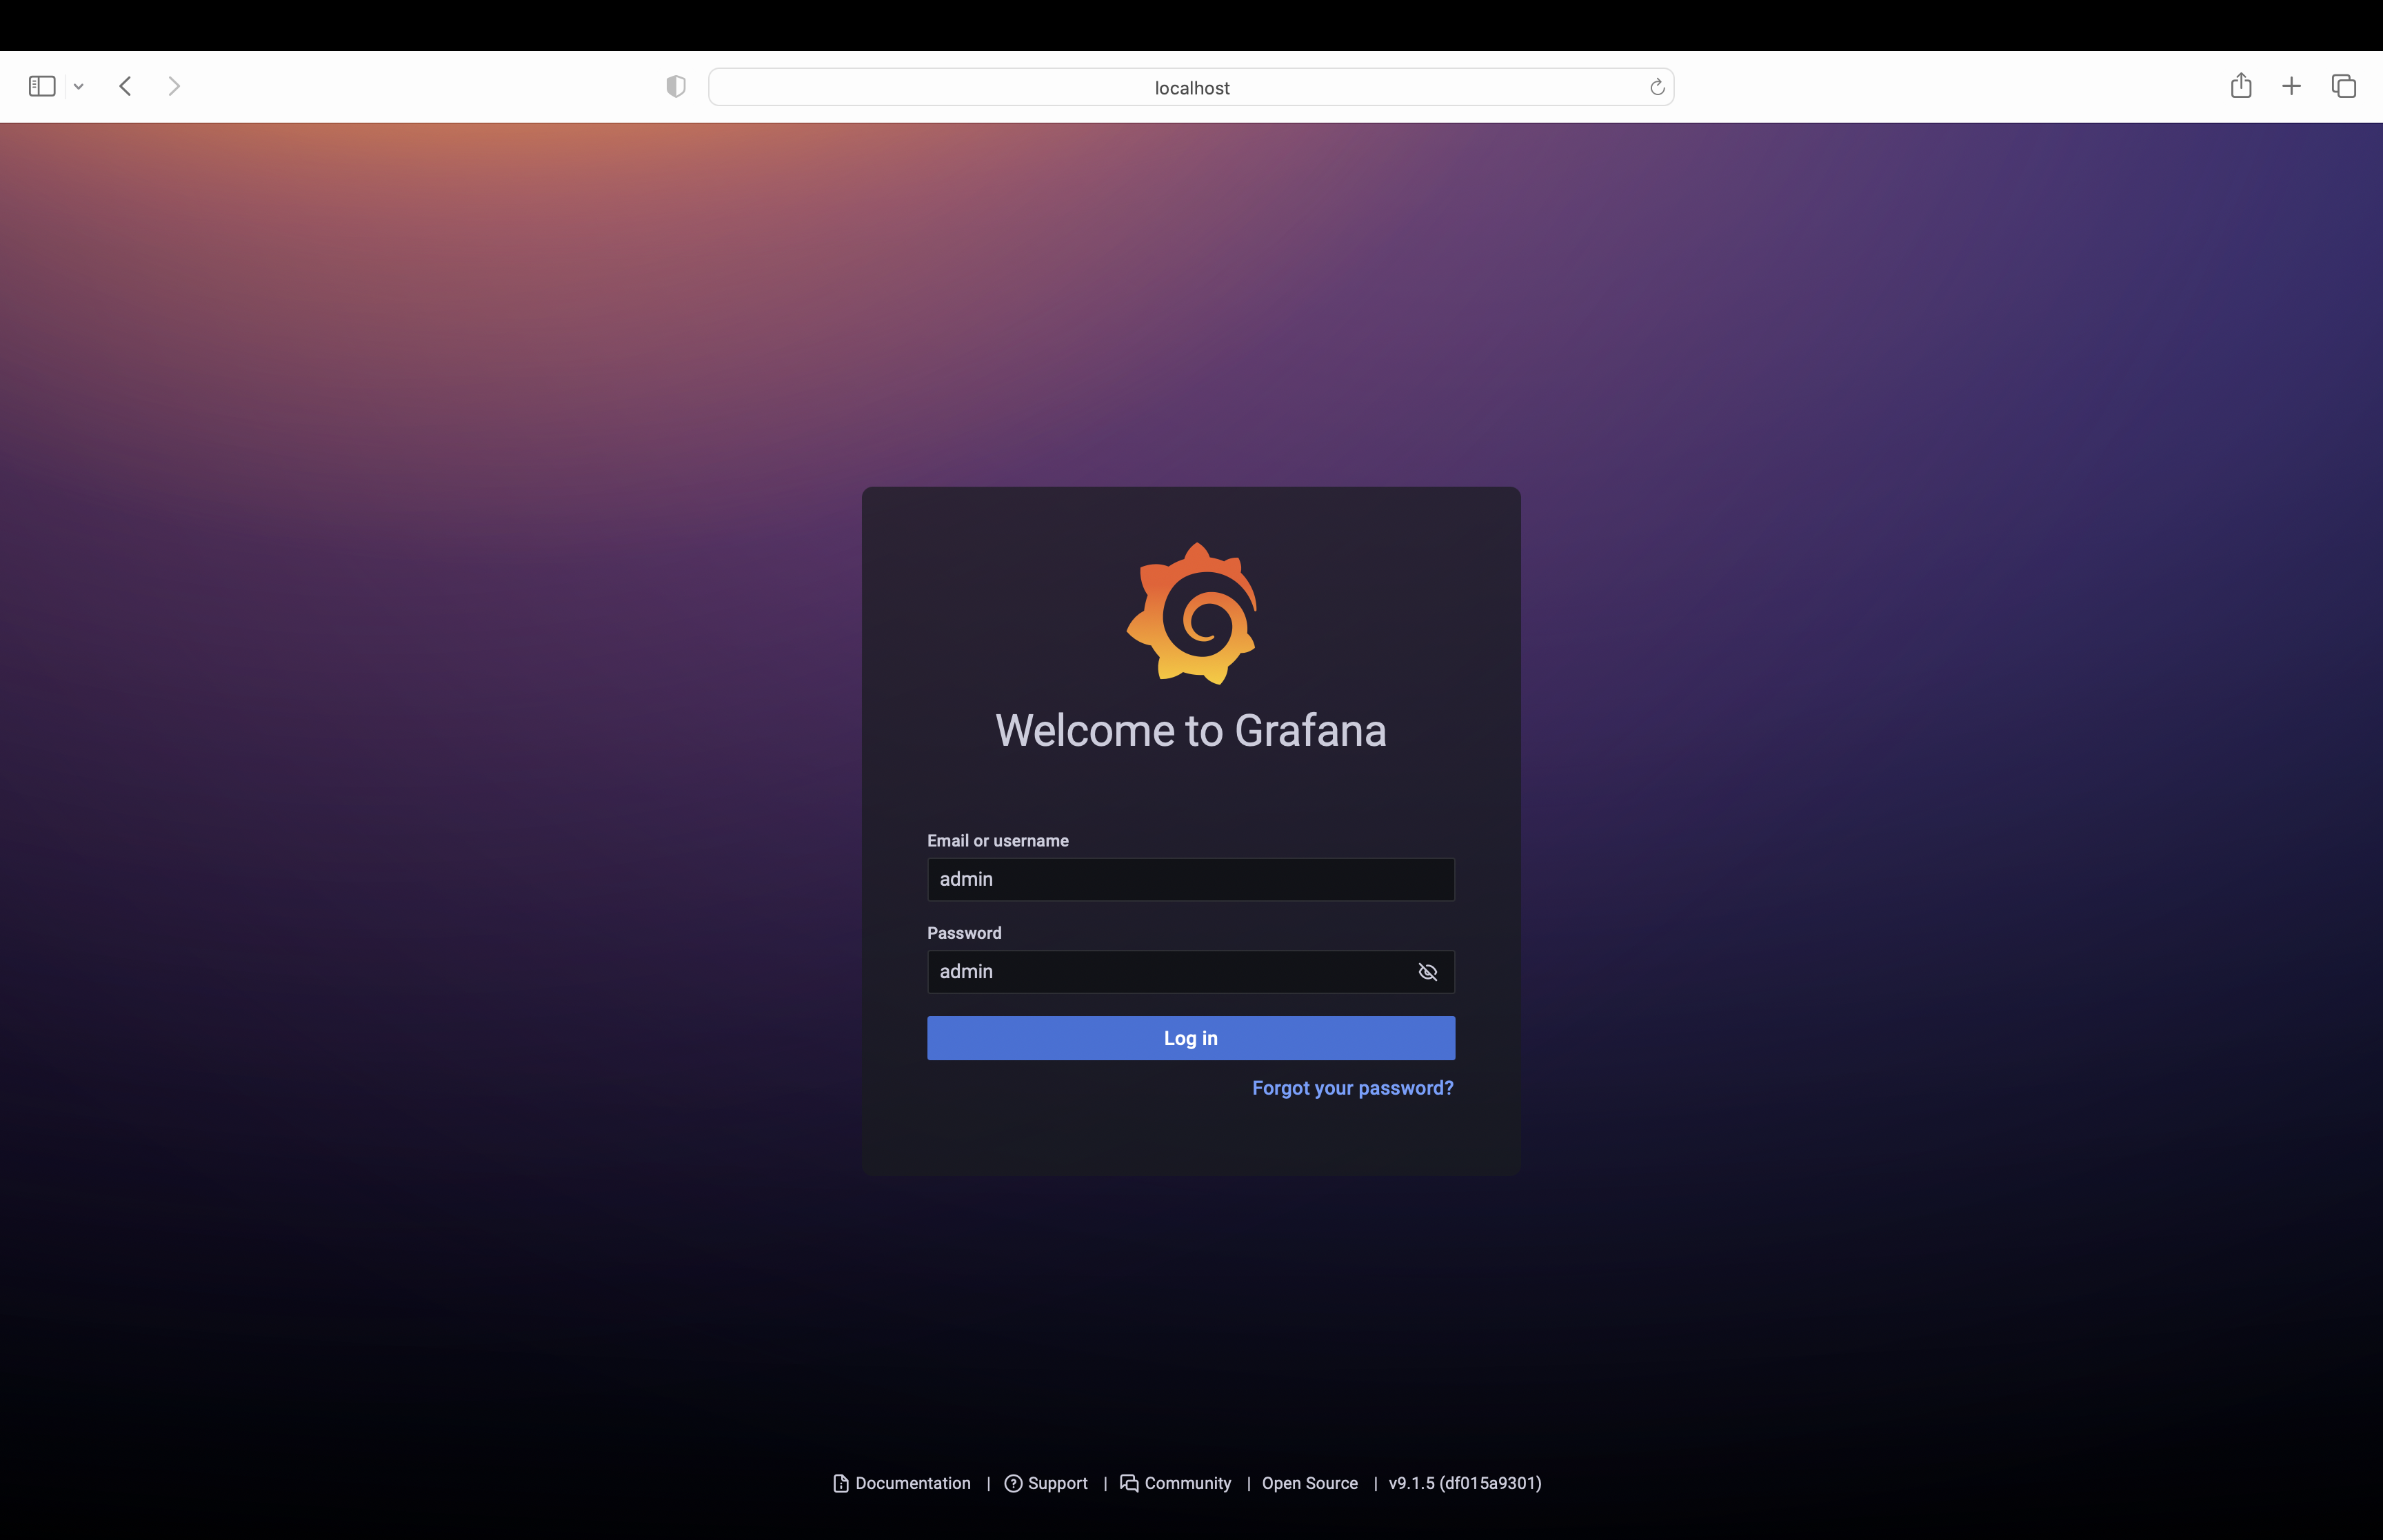
10. 브라우저를 이용하여 http://localhsot:8082로 접속하게 되면, grafana 홈페이지에 접속할 수 있습니다.
초기 비밀번호 : admin/admin

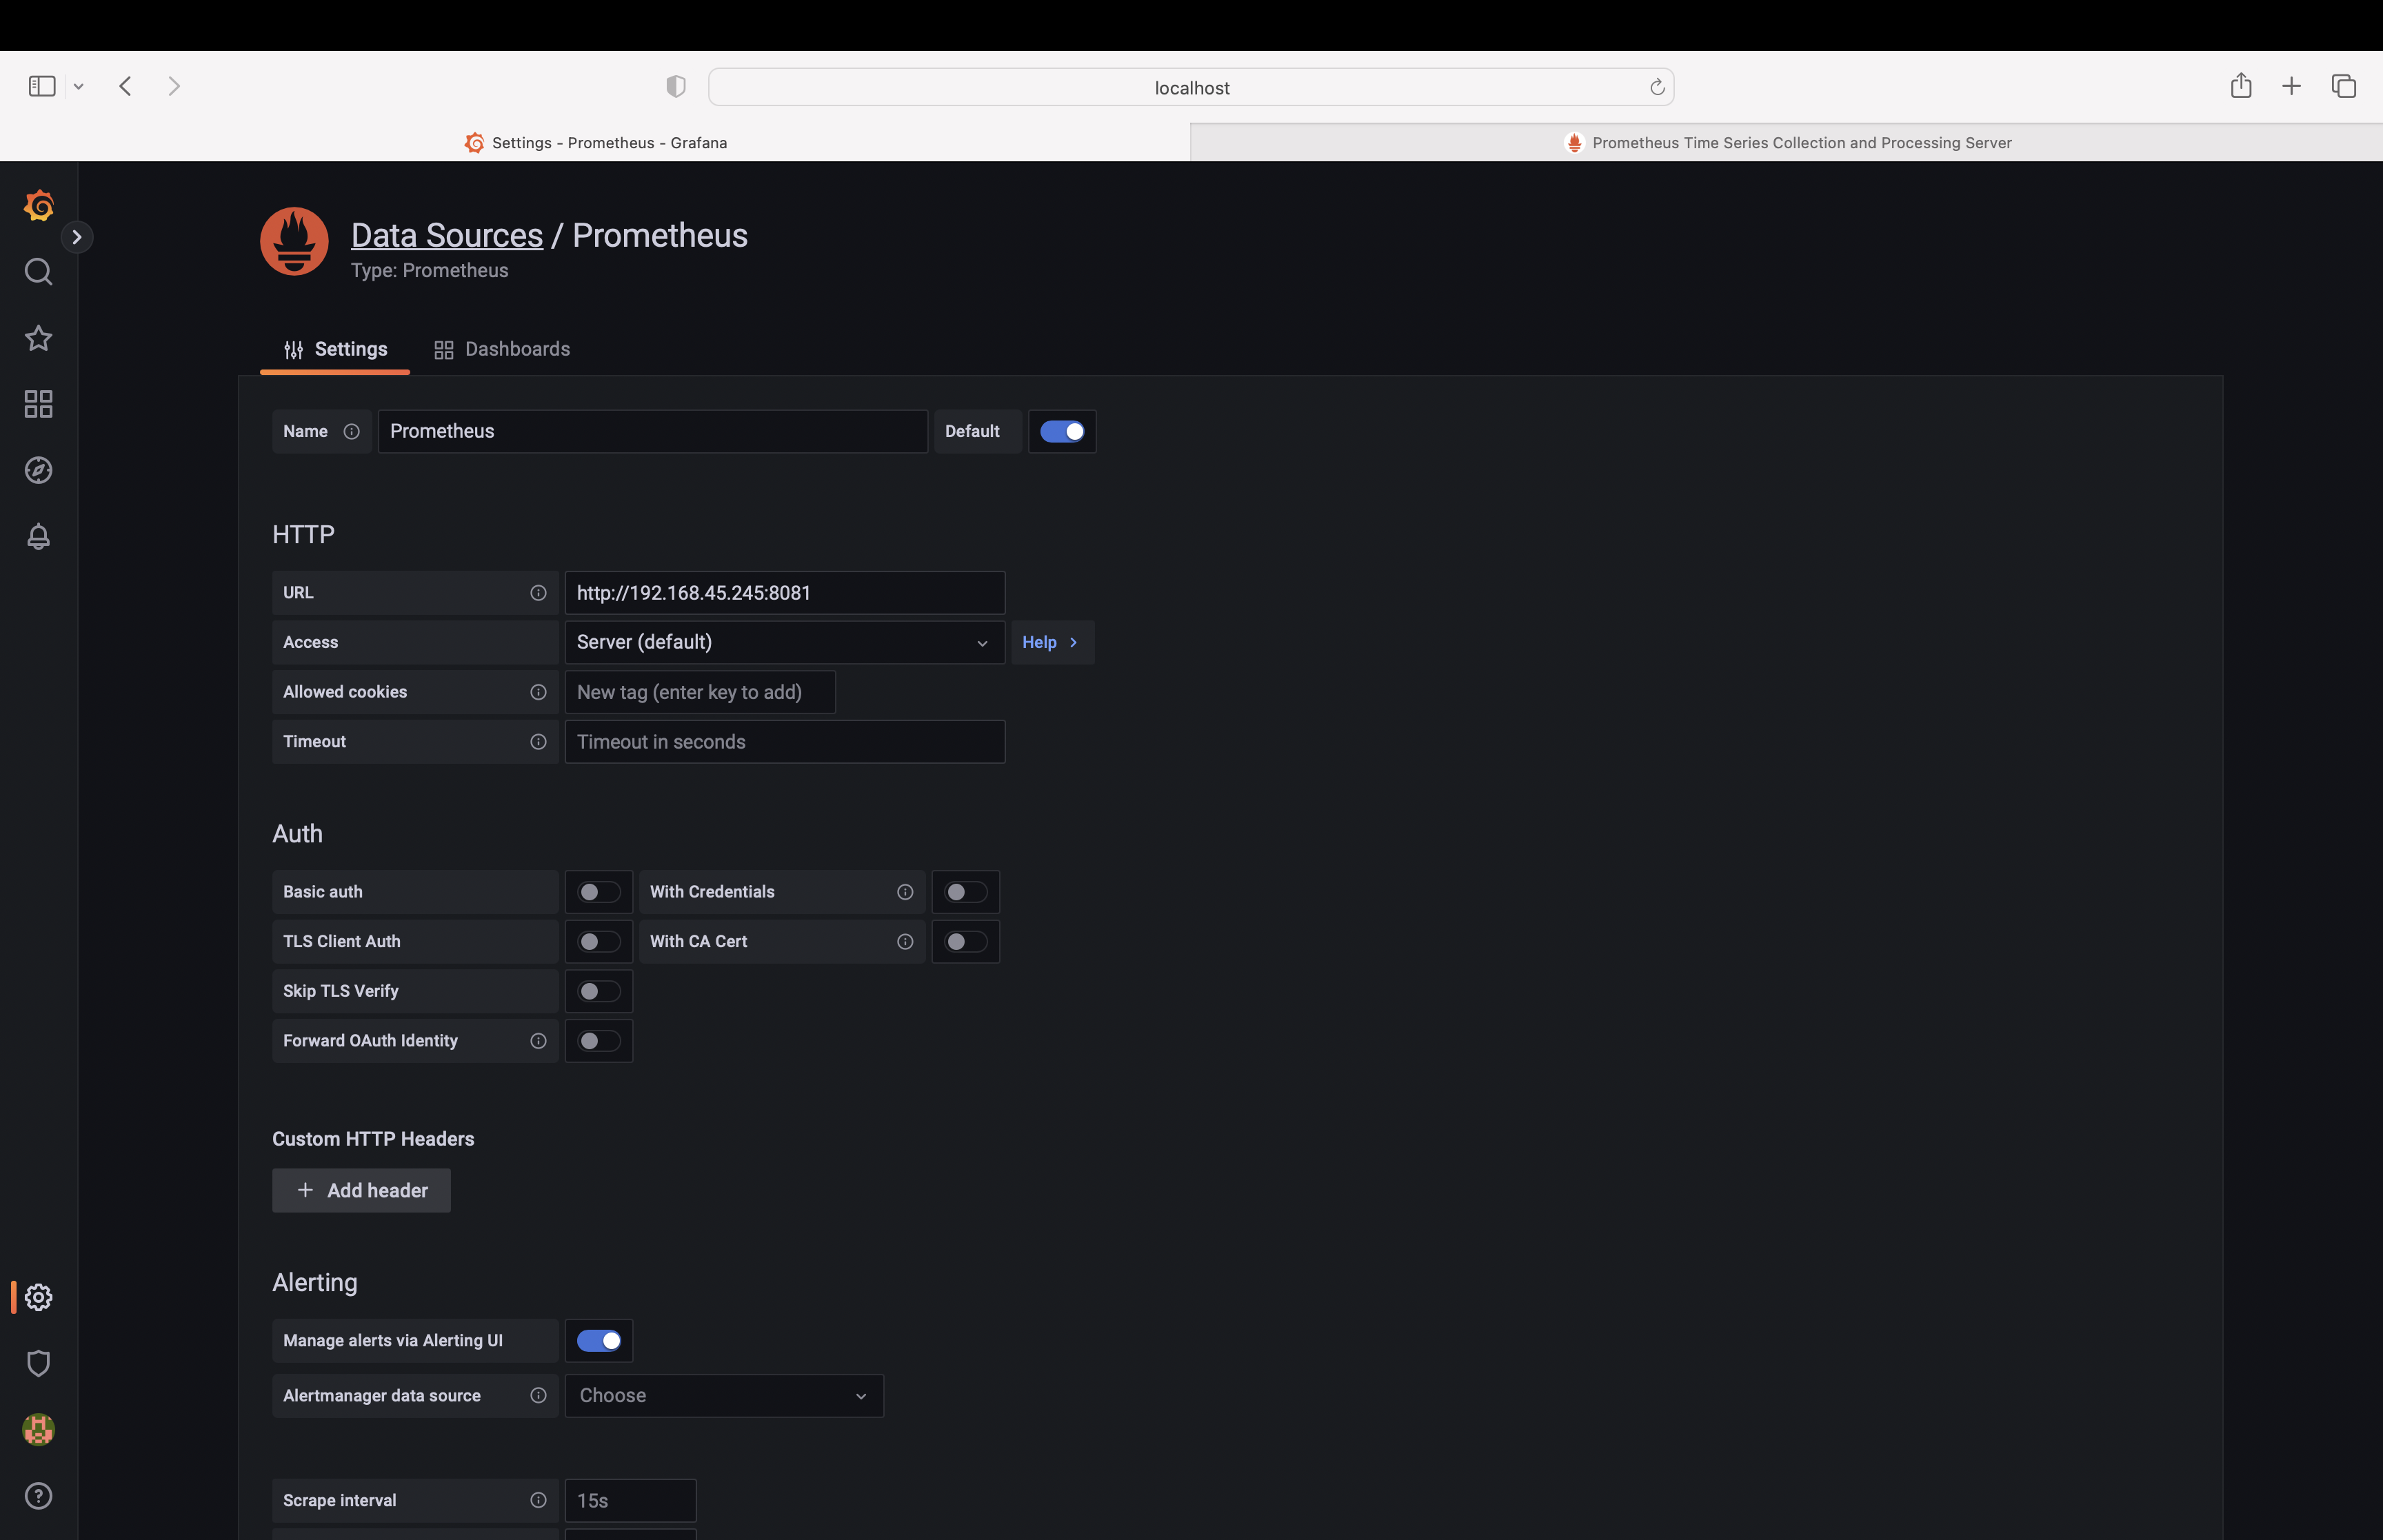
11. 이후 "설정(톱니바퀴 모양) > Data sources > Add data source > Prometheus"를 클릭합니다.

12. 그리고 Prometheus 대상에 "http://host_IP:8081"을 입력한 뒤, "Save & Test" 버튼을 클릭합니다.

13. 정상적으로 연결이 되었는지 확인하기 위해 Explore 메뉴에서 Raw Query에 "http_server_requests_seconds_max{}"을 입력하게 되면, 정상적으로 시각화되어 노출되는 것을 확인할 수 있습니다.

이것으로 Spring Boot+Kotlin Server에 Prometheus와 Grafana를 연결하여 정상적으로 Monitoring System을 구축 완료 하였습니다. 감사합니다.
'Study > WEB' 카테고리의 다른 글
| TypeScript 시작하기 - 환경 구성 (0) | 2022.10.03 |
|---|---|
| TypeScript에 대하여 알아보자 (0) | 2022.10.03 |
| Spring Boot + Kotlin의 모니터링 도구, Spring Actuator, Prometheus, Grafana (1/2) (0) | 2022.09.18 |
| URI, URL, URN의 차이점 (0) | 2022.08.17 |
| Kotlin에 대하여 알아보자 (0) | 2022.08.01 |


댓글